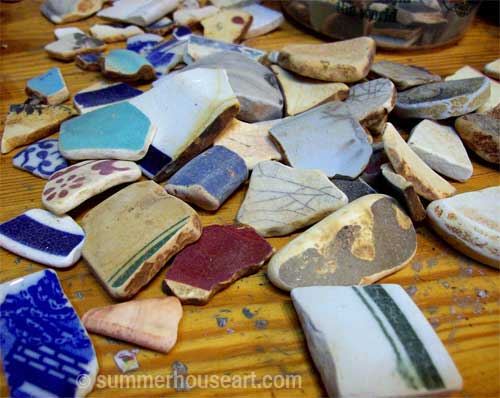
My latest student has a dream of creating a mirror with four special tiles and a huge collection of beach pottery shards that she has been collecting for years. When I saw the tiles and her collection of beach pottery I knew instantly that the shards and tiles were meant to be together. But it left me with a problem to solve. I have always avoided using beach pottery shards for mosaic because I was afraid of how grout would react with them. A year ago, I’d seen another mosaic artist use it on a vase and she had reported no problems with it. But I knew I had to try it out for myself. It was time for me to experiment on a small mirror.
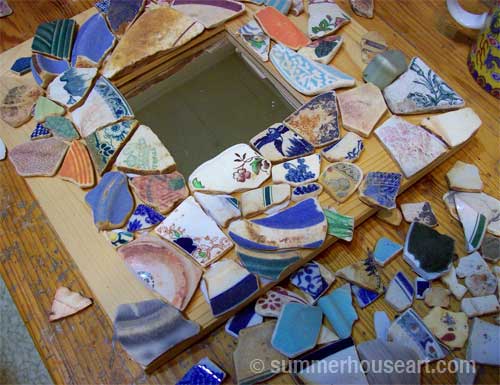
Luckily I had been given someone’s entire collection of beach glass and pottery shards over a year ago and added it to my own collection. All those lovely worn, wave-washed pottery shards had been waiting in the greenhouse for this day.
Beach pottery shards feel smooth under your fingertips, their surfaces ground by waves and rocks. Unlike the shiny, grout-repelling porcelain surface you have on new dishes you now have a matte surface, worn and pitted. I wondered if the grout grittiness would ruin the surface and if the colorant in the grout would mar and color the surfaces and sink into the pits. I also wondered if I’d like the matte surface against the grout when I was so used to the jewel-like mixture of dull grout setting off shiny bits and pieces. Well, the only thing to do was try it.
Deciding on a random design, I started applying the pieces as they fit. I wanted to avoid having to cut the shards and preserve the smooth edges that they already had.
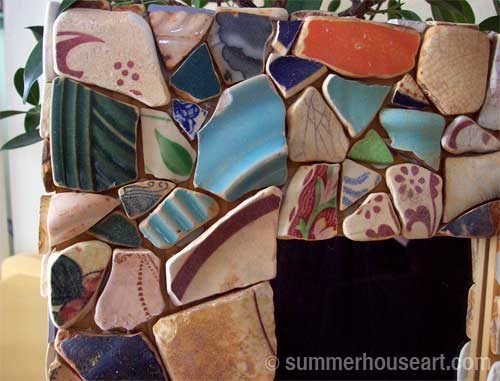
After spending a few hours listening to music and getting lost in the meditative world of fitting shards I was soon near the end and pretty happy with the result. I’d taken quite a few breaks, something I always recommend to my students, to stretch and move. It’s so easy to get caught up and give your self a nasty back spasm from being in the same position for too long lost in your work.
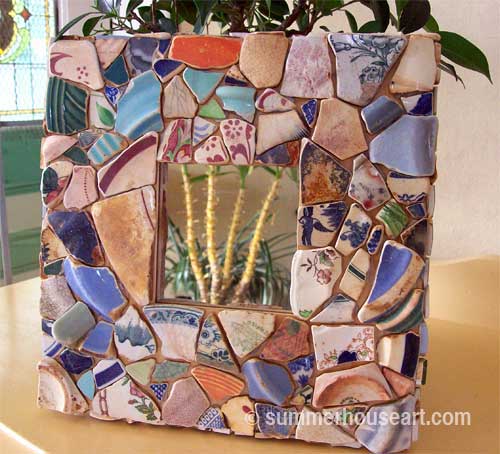
I left it all overnight to allow the mastic to set and harden. Tomorrow would be the test. I must admit to some trepidation. I loved the surfaces on some of the shards so much that I was loath to lose them if the experiment failed.
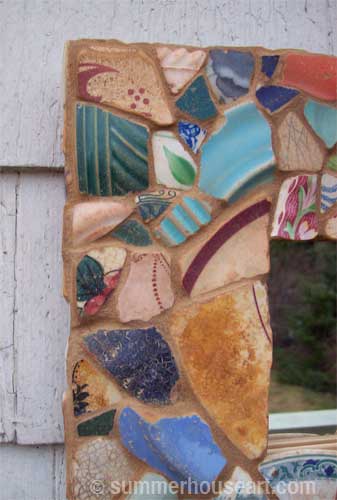
Next day, I mixed up the grout. After a little consideration, I’d chosen a colored grout that coincidentally evoked sandy beaches called Summer Tan. I needed to find out if the grout colorant would be a problem. And if it was a problem, at least this color, which was a bit rusty would at least blend in with the rustiness of some of the shards if it did sink into the pits on the surface.
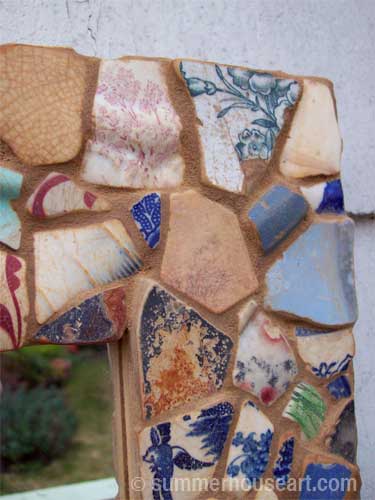
And the final result? Well, I must admit, it was a little harder to clean off the grout. The matte surfaces held onto the grout and developed a cement sheen that had to be rubbed off and even sponged. I hardly ever use a sponge, preferring instead to only clean with old cotton socks. Oh yes, there is a use for all those old cotton socks with big holes in the heels!
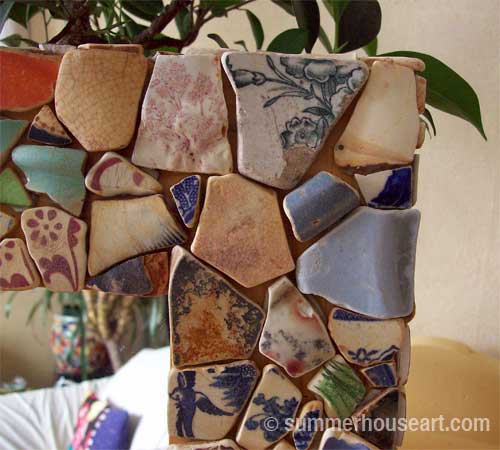
I loved the final look! This surface felt old and worn still and so smooth to the touch. It all looked antique and I wished in the end that I’d used an old worn mirror too. Ah well. Experiment done. I was glad though that I’d used the rusty colored grout, because where it did stay in the pits on the surface it looked natural.
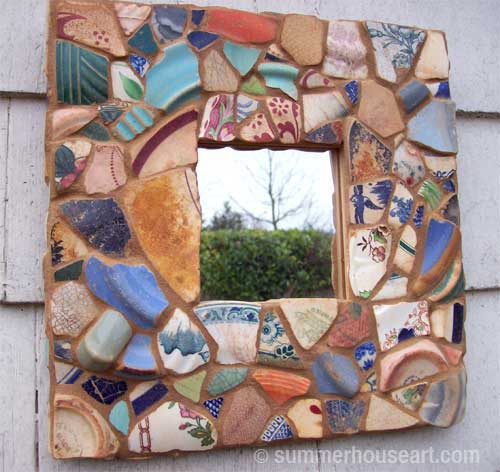
Conclusion: yes it’ll look good and yes it will be a bit more work.. but all very well worth it. And next week we’ll use these results to help my student create her dream.
