The Repotting of the Bonsai Tree

Last year, for my birthday, Eric gave me a Bonsai tree, a really cute little Ficus. Growing Bonsai was something entirely new for me. Everything about growing a Bonsai is quite contrary to my experience with houseplants.  My aim with houseplants is to get them to grow as large as possible, have lots of leaves, and live in ever larger pots.

Bonsai, on the other hand, are meant to live in small pots, get pruned a lot and stay small. Hmm. I have problems pruning bushes and trees outside. I’ve lived most of my life in Alberta, where you stand back and cheer if things grow and you hardly ever have to, in my opinion, prune. Now here I had a plant that you actually had to not only prune stems but also roots! I have to admit that to me it seemed cruel and nasty, unnatural, sort of like foot binding. But having one of my own, has made me start to appreciate the “art of Bonsai”. That is creating the look of a large tree in a small pot, a vignette so to speak, of a larger natural beauty.

But the time came when I realized that Bonsai or not this little plant needed a bigger pot or needed to have it’s roots pruned. My way of doing anything new is to look up everything at the library. So off we went and back we came with lots of books on Bonsai, care of and growing, pruning, training, etc.
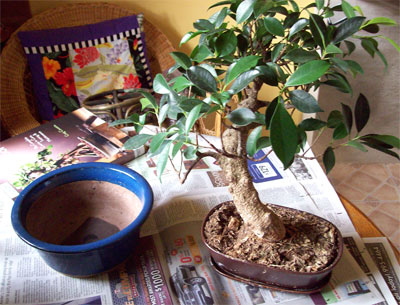
before-old-pot

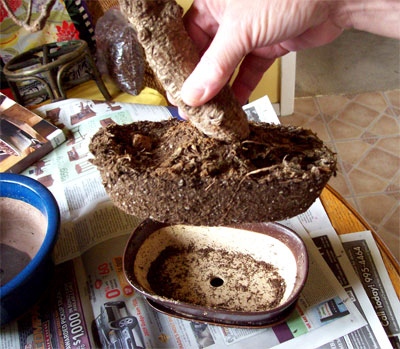
Now this poor little plant was so root bound that my method of checking to see if it was watered enough was just to pick up the plant, roots and all, out of the pot and check.
out-of-pot1

Between the three of us, Eric, Will and I, it was decided after much studying of various books, that rather than attempting to prune roots, that it would be better to move it into a larger bonsai pot. Luckily, as garage sailors, we had a little supply of recycled bonsai pots. After a bit of consideration, one was chosen.

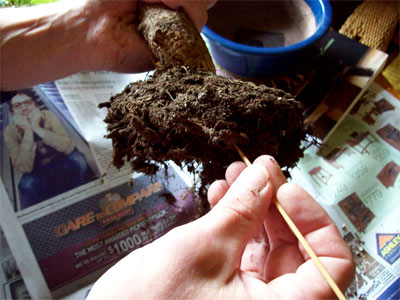
Eric, took on the task of loosening the old dirt from the roots with a little bamboo skewer, amidst worried remarks from me admonishing him not to tear the roots or hurt the poor thing. Eventually it was ready to re-pot.
loosening-dirt

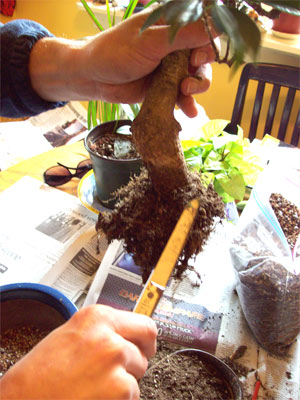
Eric also trimmed the roots from a little lower root that would become a root feature near the bottom of the trunk. Following instructions from our many books, the scissors had been sterilized with alcohol.
trimming-roots

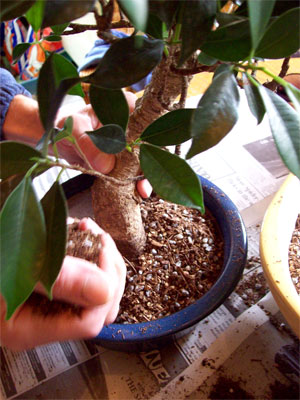
At the Glendale Garden Show, on one of my many jaunts around the other exhibitors, I‘d picked up a bag of Bonsai mix at a Bonsai Garden Exhibit. This was basically a mixture of bark mulch, turface (still don’t know what that is), sand, gravel, grit, vermiculite and perlite. To this I added a bit of regular bagged houseplant dirt. This was added carefully around our little plant in the new pot.
planting

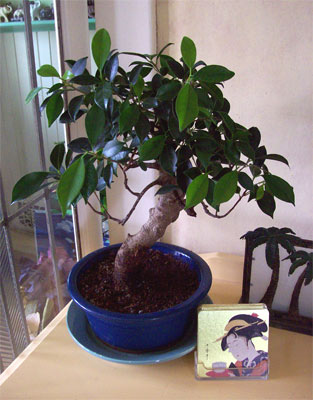
Then our little plant was watered and the new dirt gently tamped down around it. It has, for the last few weeks, resided happily in it’s new pot on the sideboard in the living room. I’m happy to report that it survived the move to the new pot very well.
potted-up

New leaves are coming and only one leaf was lost. And doesn’t it look very very Japanese with it’s display of Japanese coasters, also a garage sale find, set prettily but minimally, of course, in front?

Share

My Indoor Flower Show

How often is it that I’ve seen something wonderful and not run for the camera to snap a shot? I’ll give myself a mental reminder to get back to that soon but then,distracted by all the stuff going on in my life, I forget. Don’t even want to estimate an answer. And I know that I can take all the mental snapshots I like but I am NOT going to remember that moment in a few years or even days, or let’s face it, even a few hours later.

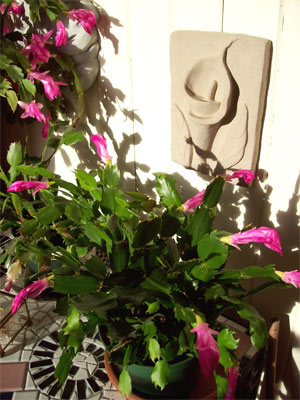
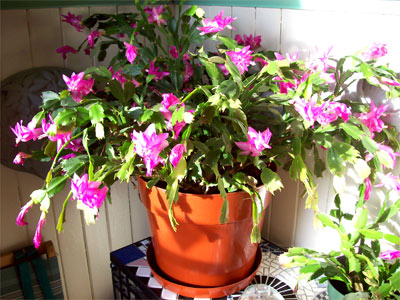
Thank goodness every now and then, something just catches my eye and makes me get up and get that camera. This happened the other day as I sat reading on the couch one morning. I had the front door open and I glanced up and saw the sun streaming in on the Christmas Cactus in bloom. Now, I’d known that it was full of blooms for a few days and even had a plan to take a photo, but hadn’t gotten around to it yet. But at that moment, it was a plant suddenly aglow with each magenta flower outlined in light. It practically screamed at me to get off the couch and take a picture!

big-xmas-cactus

And also caught the other little starters also in bloom. Did I tell you I have a hard time throwing out cuttings and tend to pot things up till I have too many plants?

100_1880

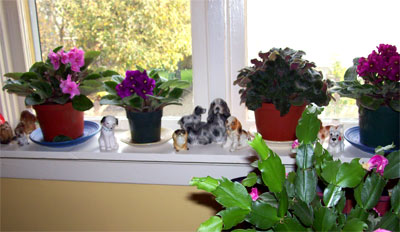
Which of course led to me noticing that I had a few more flowers in bloom around the house. The African Violets on the kitchen windowsill were also strutting their stuff.

window-sill1

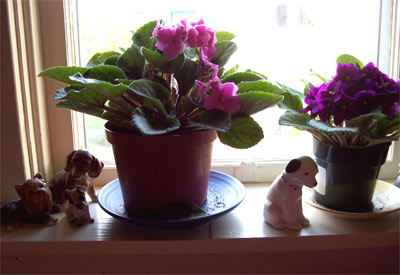
I’d just recently changed the windowsill ornament collection from cats to dogs to set off the plants and since I already had the camera out, well, here they are. Pretty aren’t they? Such old fashioned flowers, hardly trendy, but I never care.

window-close-up

Today, as I post this, the Christmas Cacti are already over their bloom time. They always seem to be a more of a Remembrance Day Cacti anyway. But they sure did put on a show for us and I’m glad I caught it on “film”.

Share

The New Pique Assiette Buddha Shrine Part 5 – The Inevitable But Strangely Perfect Conclusion

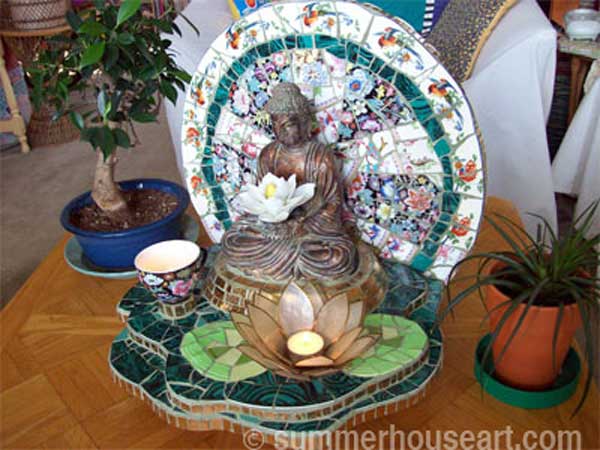
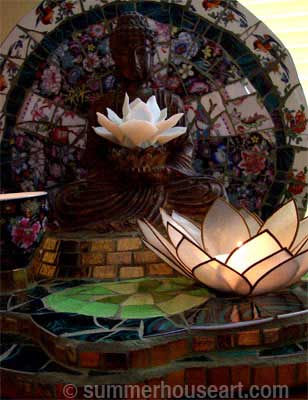
The Buddha Shrine is finally done. My little Buddha, rescued this summer from the back of a truck full of junk, now sits in splendor, cross legged, quietly contemplating the lotus flower I have bestowed upon him. Will is sure his expression is now one of serenity with just a hint of a smile. All problems have been solved, all has come to it’s inevitable conclusion, all is as it was meant to be.

Well that’s pretty well how it seems to me now, now that it’s all done. The dishes I thought I needed, I didn’t need. The dishes I had and the decisions I made now all seem right, destined even.

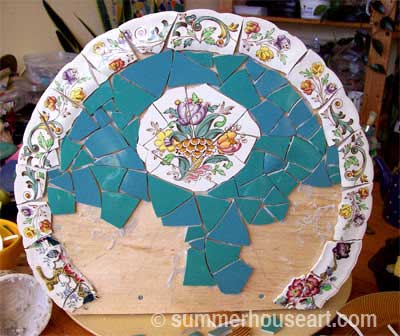
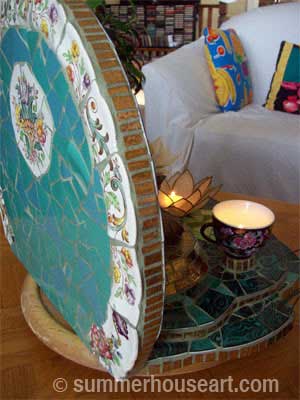
I suddenly came to a conclusion about the back and just filled the space with green and blue turquoise dishes. Dishes, I might add, that were in my kitchen cupboard all along. Sometimes I use dishes meant for mosaic for a while and I’d totally forgotten they were there to be used.

back, progress, Buddha Shrine by Helen Bushell, summerhouseart.com

The color fit well with the front of the shrine and it also leant a quietness to the design. So another problem solved with no effort.

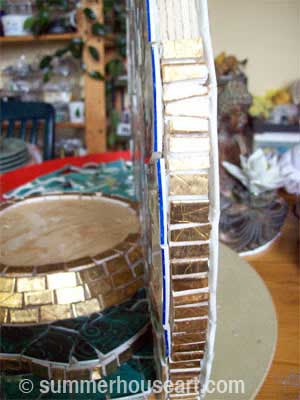
The edge was done with the little scraps of gold tile I had left and the skinny little pieces seemed to be the right design solution after all.

side, progress, Buddha Shrine by Helen Bushell, summerhouseart.com

So yesterday, Will and I donned our rubber gloves and slathered on the grout. The grout color was somehow fittingly called Green Tea, to which I added water colored with just a bit of Phthalo green paint. I wanted the grout to be more turquoise. Oddly that didn’t work either but the color actually became an almost exact match for the Buddha’s antique finish. Another strangely perfect conclusion. I was actually quite pleased when we finally glued him in place and grouted around him, just how well the grout color fit so well with the Buddha.

 Buddha Shrine by Helen Bushell, summerhouseart.com

Buddha Shrine by Helen Bushell, summerhouseart.com

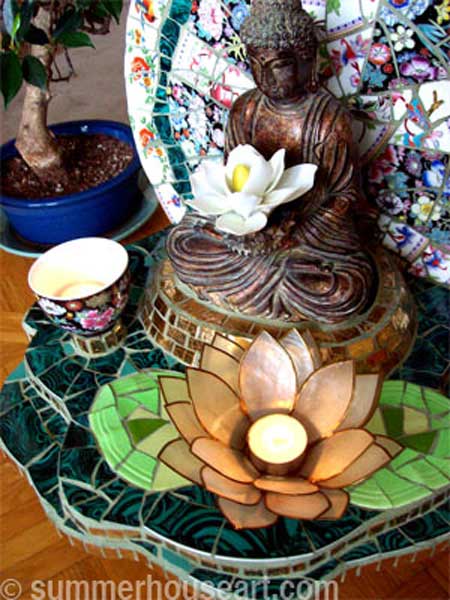
So here it is, all done. Candles lit. Shown here as he is in daylight.
Buddha Shrine by Helen Bushell, summerhouseart.com

And then here as he is at night with the glow of the tea lights flickering on his meditation.

Buddha Shrine by Helen Bushell, summerhouseart.com

Now all I have to do is find a spot for him or a new home where he will be appreciated, where his serene meditation of a lotus flower in front of the tranquil green rippling pond will remind an onlooker to slow a bit and quiet their thoughts. And realize that everything has a way of flowing, just as this little shrine did, to it’s inevitable conclusion.

Share

Just Can’t Resist Playing with the Fall Colors

I started this blog with the idea of just doing a few photos of fall colors. Who can resist, right? But then, as I was getting the photos ready I just couldn’t help playing in Photoshop.

I am hopeless when it comes to color. The more color the better. I also like to play around with things. Ok, so I’m an artist, we like color and we like to play. So now I’m going to treat you to my version of Fall Color, but with a twist. First I’ll show you the regular Fall color, which is good, but then to contrast that (and yes, I did have fun with that Contrast setting in Photoshop) I’ll show you my version…..oh oh.

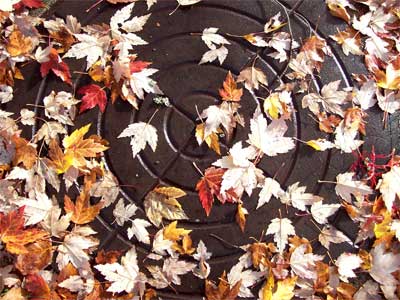
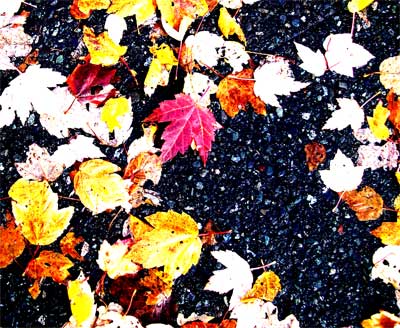
The first is a photo of a manhole cover that I came upon while out strolling, covered in leaves. Now, I love abstraction which is probably why I also like close-up, flat pattern shots. It has something to do with my way of seeing that I suppose has been heightened by all those years in art college. Ok first the regular color which I only slightly goosed up with the contrast setting.

manhole-cover

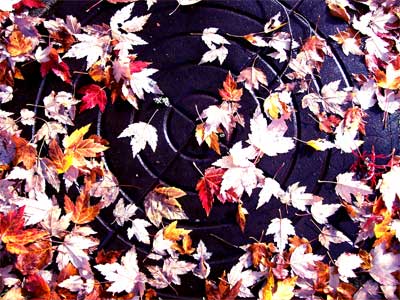
Next is my high contrast shot. I love it! It takes the color to another level, the manhole is now bluish and the leaves shocking. The pattern glows.

manhole-phtoshp

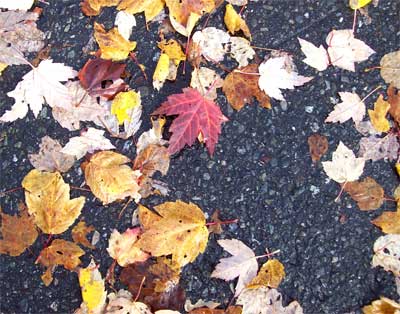
I love an all over pattern on a flat surface and what better than leaves on pavement? Ok first the usual ….

leaves normal

Now the souped up color. I love how it creates an even flatter surface, accenting the shape and color.

leaves-photoshp

My windmill palm after the rain, close up, face right in the leaves. The “normal” version is for me wonderful, love those lines and patterns!
palm-nrml

But then with the contrast boosted, oh my, it takes on a whole other feeling, the pattern is the focus!

palm-phtoshp

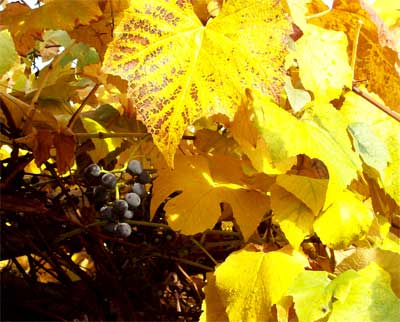
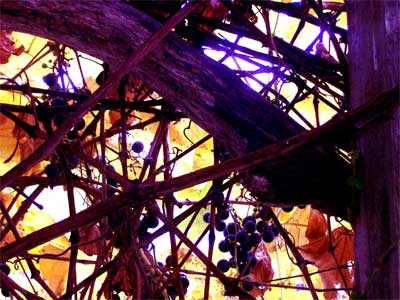
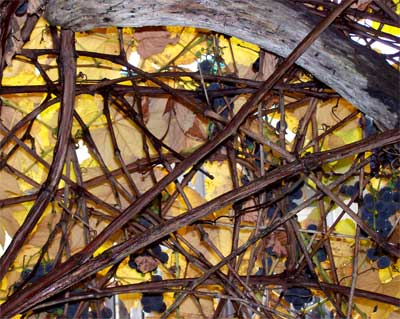
The grape arbour was a wealth of color, almost too much color in fact.

ylwgrapenrml

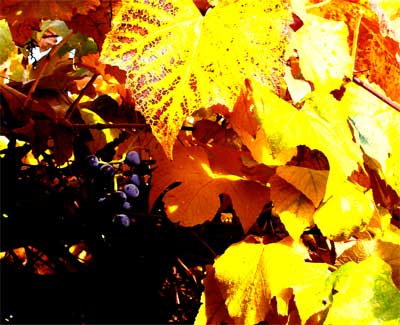
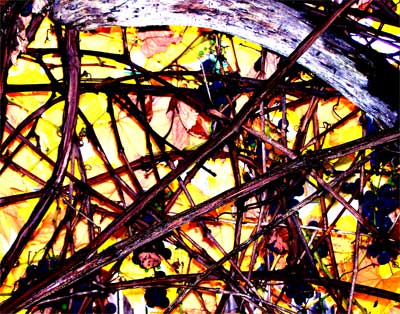
But then I played with it a bit. I wanted to create even more of a contrast and bring out the purple of the grapes and the beauty of the leaves.

yellow grape photoshop

Next is a mistake, I suppose. The shot naturally came out with this odd intense blue in the upper corner which I loved, of course.

grape-arbour-nrml

So also of course, I just had to go with that intense blue. And look what happened. I love the look of it.

grape arbour phtoshp

OK one more please…
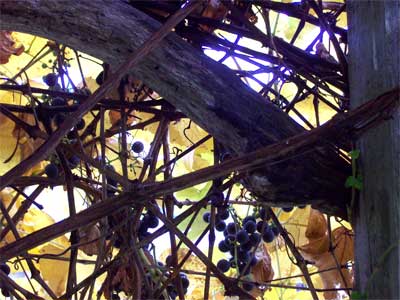
This last one was also a mistake, the flash went off which of course flattened the whole photo. But, me, who loves flat pattern, it wasn’t so much of a mistake.

leavesnrml-2

The next version is my attempt at taking that flatness even further. To me this now looks like light coming through glass, stained glass?

flat grape photoshop

Ah, me, I just love Photoshop! Don’t you?  Too much fun.

Share